

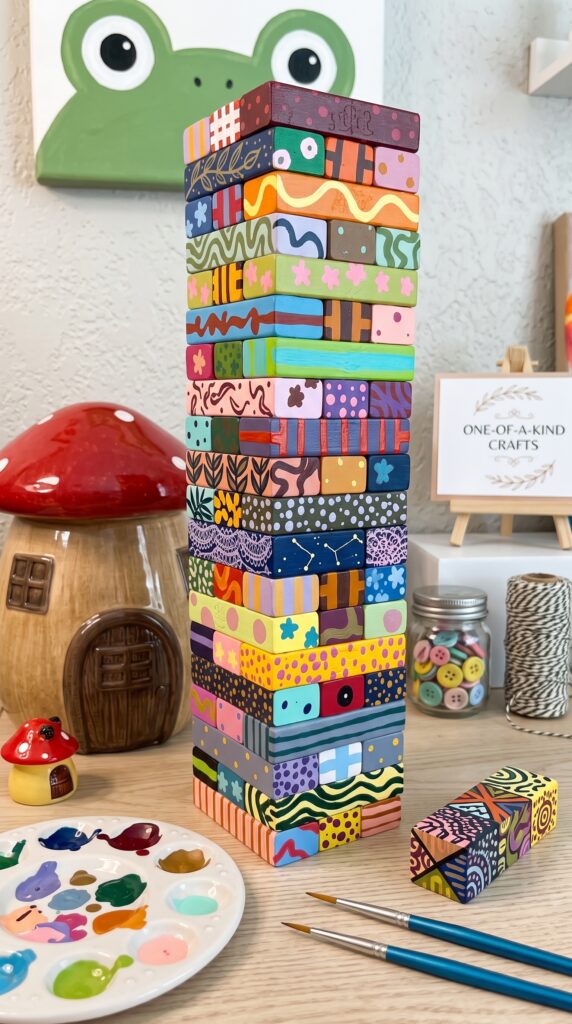
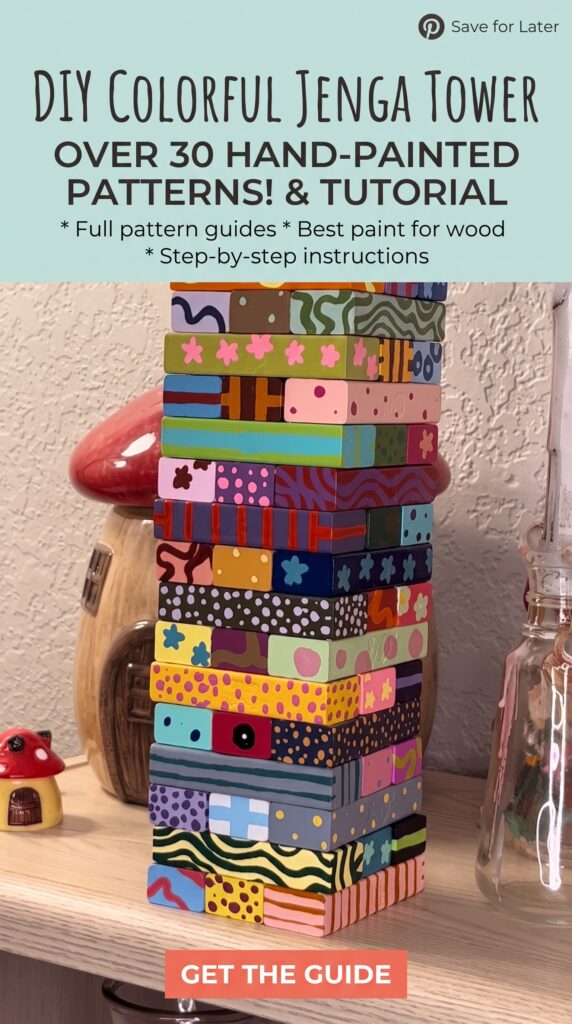
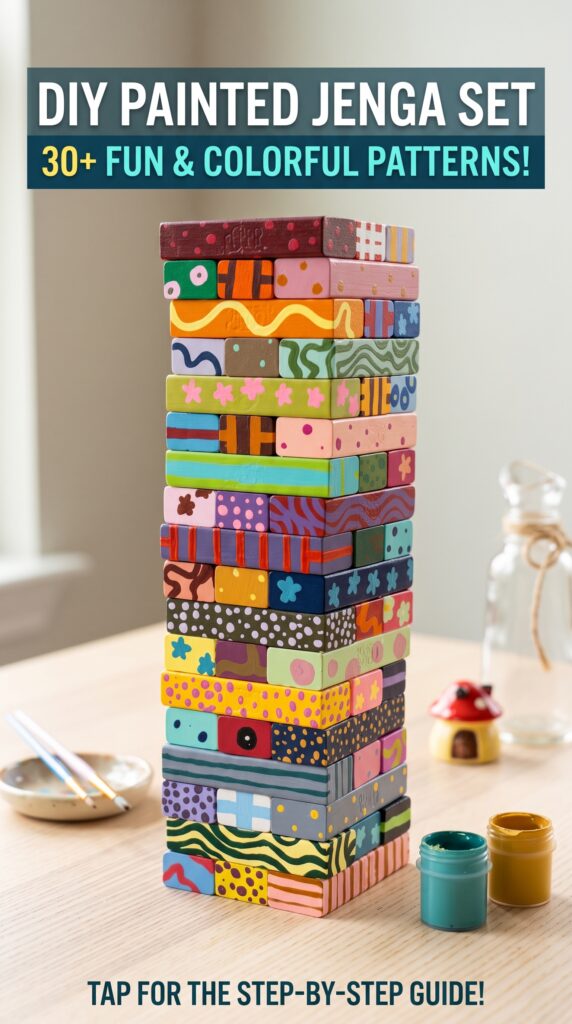
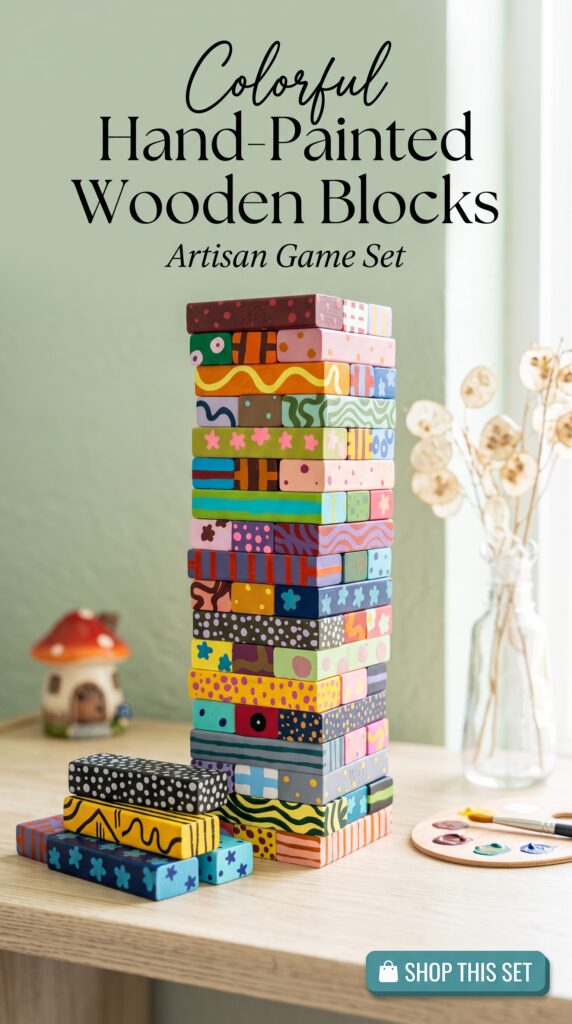
Looking for a fun weekend craft project that doubles as chic home decor and a lively game night favorite? Learning how to make hand-painted Jenga blocks is one of the most rewarding DIY projects you can tackle.
Whether you are crafting a whimsical, colorful set for your coffee table, making a unique gift for a friend, or prepping best-selling inventory for your next farmers market stall, this step-by-step guide covers everything you need to know!
🛠️ Supplies & Materials You’ll Need
Gathering the right supplies makes all the difference in getting clean lines, vibrant colors, and smooth block movement during gameplay:
- Wooden Blocks: A standard plain wooden Jenga set (54 pieces) or 1×2 wooden lumber if cutting from scratch.
- Sanding Sponge or Fine-Grit Sandpaper (220-grit): Essential for smoothing edges so blocks slide easily.
- Acrylic Paint Set: Bright, opaque acrylic paints (pastel, rainbow, or earth-tone palettes).
- Detail Paintbrushes & Paint Pens: Acrylic paint markers (like Posca pens) are fantastic for fine details, dots, stripes, and stars.
- Painter’s Tape (Optional): Perfect for crisp geometric lines and color-blocking.
- Clear Matte or Satin Acrylic Sealer: Spray varnish or brush-on clear coat to protect your artwork from chipping.
📊 Project Overview
| Skill Level | Prep & Paint Time | Drying & Cure Time | Yield |
| Beginner Friendly | 2–3 Hours | 24 Hours (Full Seal) | 1 Full Game Set (54 Blocks) |
👩🎨 Step-by-Step DIY Tutorial
Step 1: Prep & Sand the Wooden Blocks
If you are using a pre-bought plain wooden set, inspect each piece for rough edges or splinters. Gently sand the surfaces and round off sharp corners using 220-grit sandpaper. Wipe away all sawdust with a damp microfiber cloth and let the wood dry completely.
Step 2: Plan Your Pattern Palette
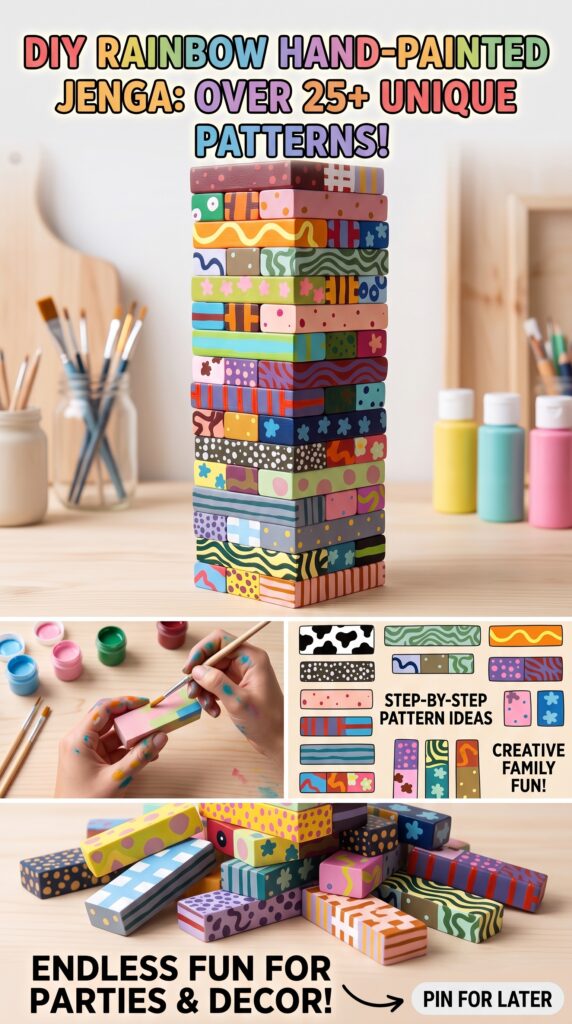
To give your Jenga tower that eye-catching, maximalist look, mix and match several complementary patterns across the set:
- Micro Patterns: Polka dots, mini stars, checkered grids, and hatch marks.
- Organic Shapes: Squiggle lines, wavy ribbons, cow print, and floral motifs.
- Bold Color Blocks: Solid vibrant stripes, arches, and geometric angles.
Step 3: Paint Base Colors & Details
Apply 1–2 thin coats of acrylic paint to your chosen block sides. Allow the base coat to dry for 15–20 minutes before adding detailed designs with fine brushes or acrylic paint markers.
💡 Pro-Tip for Smooth Gameplay: Avoid heavy, textured paint build-up on the large flat sliding surfaces! Thick paint can stick together during play. Keep layers thin so pieces slide out effortlessly when playing.

Step 4: Seal for Durability
Once all your hand-painted patterns are completely dry, lay the blocks out on a drop cloth in a well-ventilated area. Apply 1–2 light coats of a clear matte or satin spray sealer. This seals the acrylic art, protects the wood from moisture, and prevents paint from transferring to hands.
🎨 Pattern & Styling Aesthetics
Give your set a distinct vibe to match your decor or target audience:
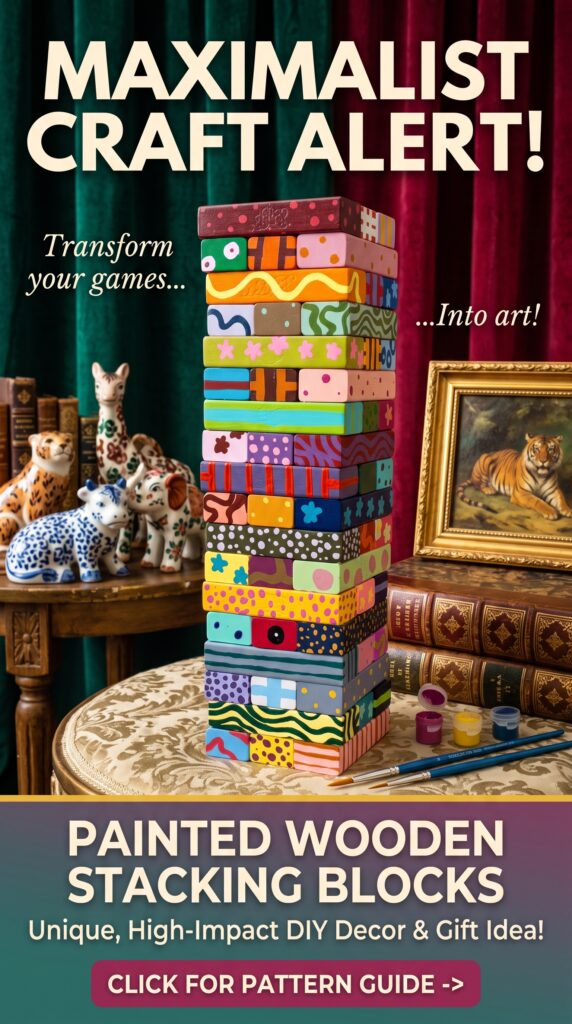
- Dopamine / Maximalist: Neon colors, wavy retro lines, checks, and smiley faces.
- Cottagecore / Whimsical: Earthy greens, tiny mushrooms, daisies, and pastel polka dots.
- Modern Minimalist: Neutral beige, terracotta, black accents, and delicate line art.
💡 Selling at Markets & Craft Fairs
If you plan to sell these hand-painted sets at craft fairs or online:
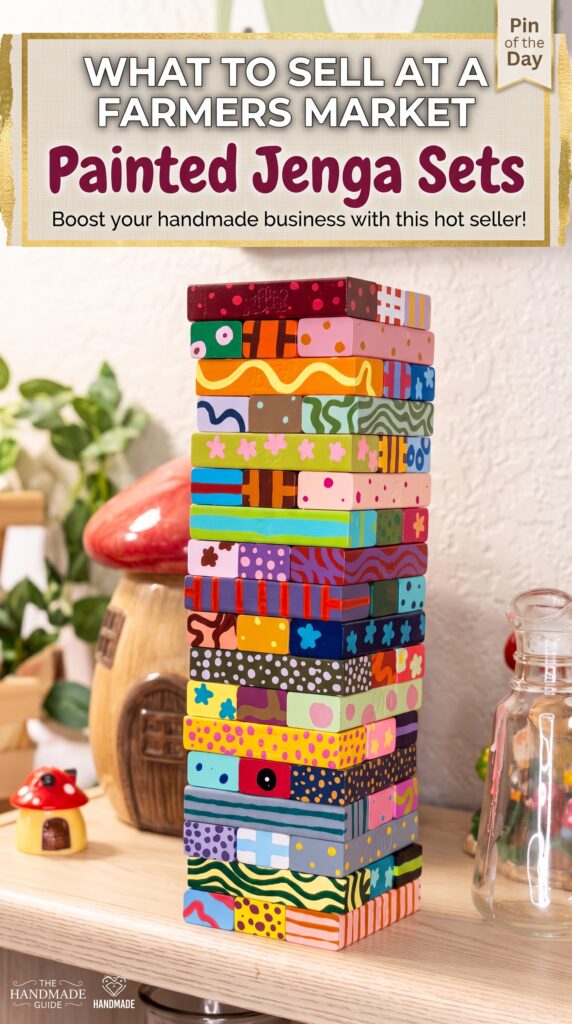
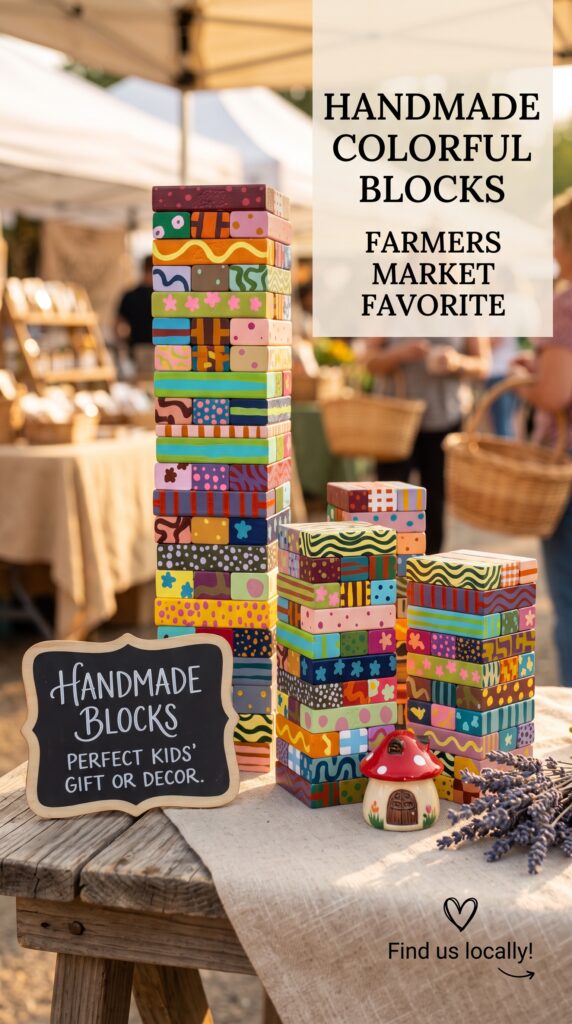
- Display as a Stacked Tower: Display a fully stacked tower on your table to instantly attract shoppers’ eyes with bold colors.
- Offer Interactive Sets: Leave a sample set out for shoppers to play with at your booth.
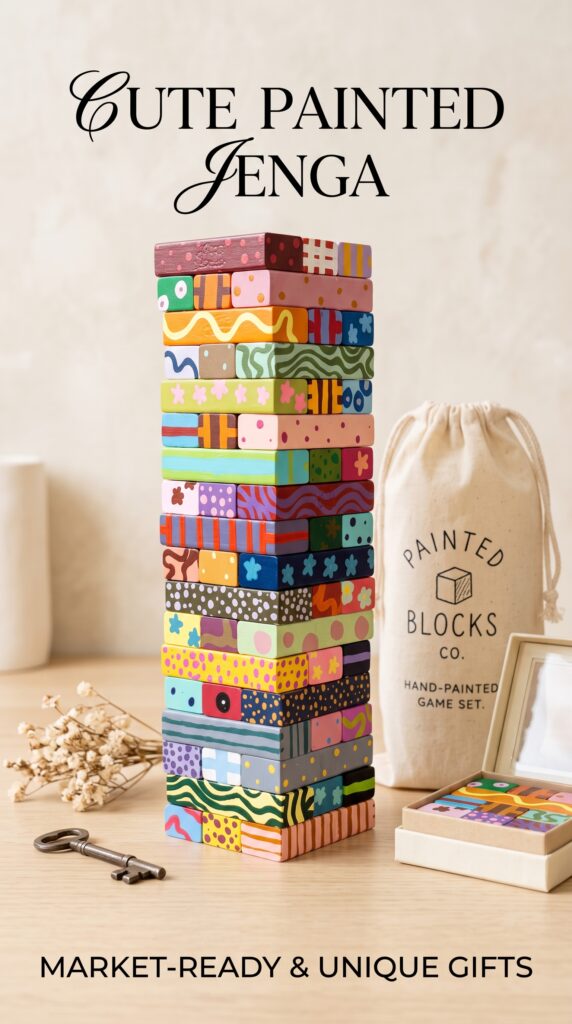
- Include Custom Packaging: Bundle the set in a stamped cotton drawstring bag or a custom wooden storage box for a complete, gift-ready presentation.